the caf2code press
How To Create a Calculator in D365 F&O: UI Design
UI Creation
1. Right click on the project name in the Solution Explorer, scroll to Add, and select New Item.

2. In the Dynamics 365 Items menu to the left, select User Interface and then select Form. Rename the form and click Add.

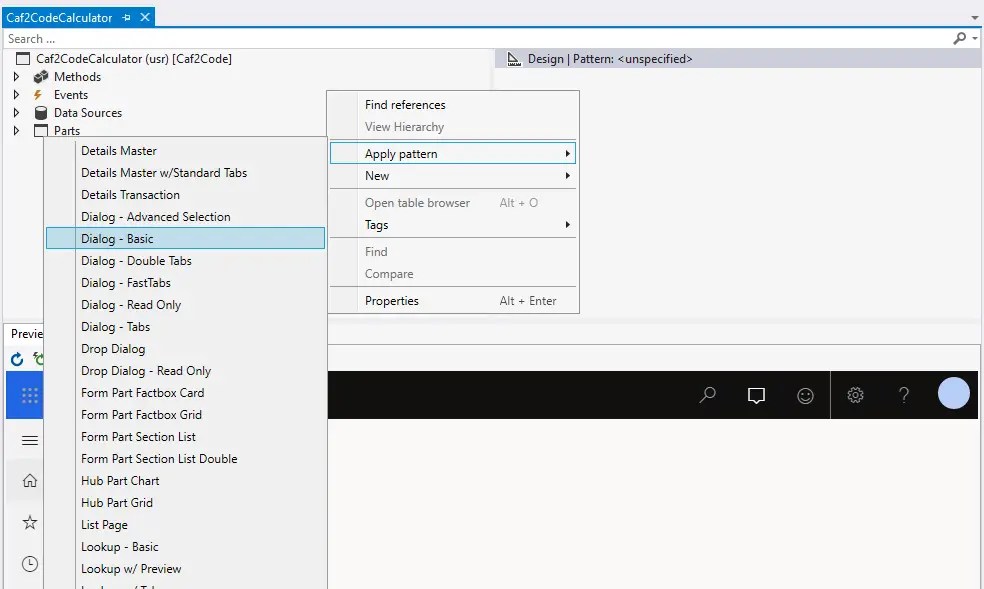
3. Right click on the Design | Pattern field, select Apply pattern, and click on Dialog – Basic.

4. Right click on Design | Pattern, select New and click on Group.

5. Right click on the new group, select Apply pattern and click Fields and Field Groups.

6. Right click on the group and select Duplicate. Repeat this action until you have four groups.

6A. You should have four groups in your window pane.

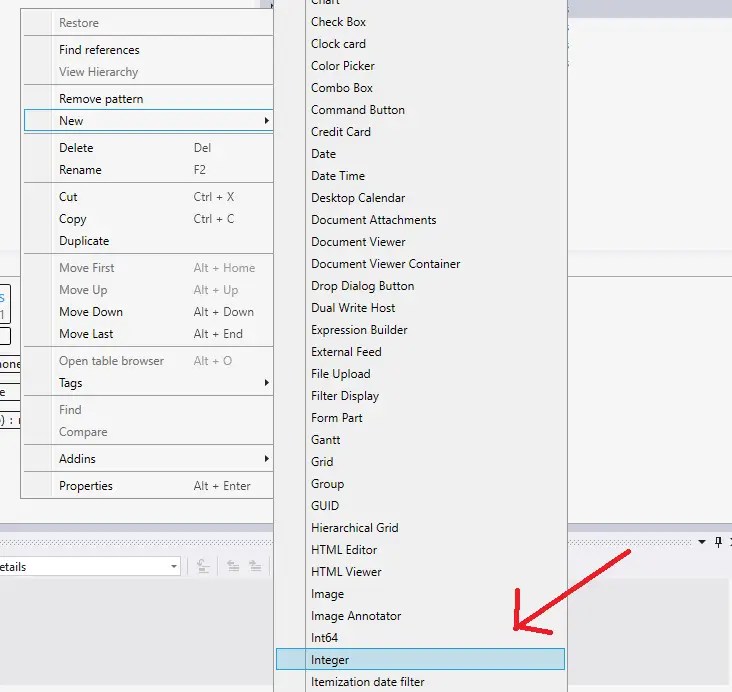
7. Right click on the first group, select New and click on Integer. Repeat this action one more time for a total of two integers in group one.

8. Right click on the second group, select New and click on Integer for a total of one integer in group two.

9. Right click on the first integer and click on Properties.

10. Change the value of Auto Declaration from “No” to “Yes” in the dropdown. You can also change the name of the integer to a more descriptive one (examples: Number1, Value2, Int1, Total etc.). Repeat these actions on the remaining integers (consider renaming the third integer “Total”).

11. Right click on Group3, select New and click on Button. Repeat this action once more in Group 3 for a total of two buttons.

12. Right click on Group4, select New and click on Button. Repeat this action once more in Group 4. You should end up with two buttons in Group 3 and two buttons in Group 4.

12A. Right click on the first button in Group 3 and select properties. In the Text field under Appearance, type in an asterisk (*). In the Name field under Data, type in “Multiply”.

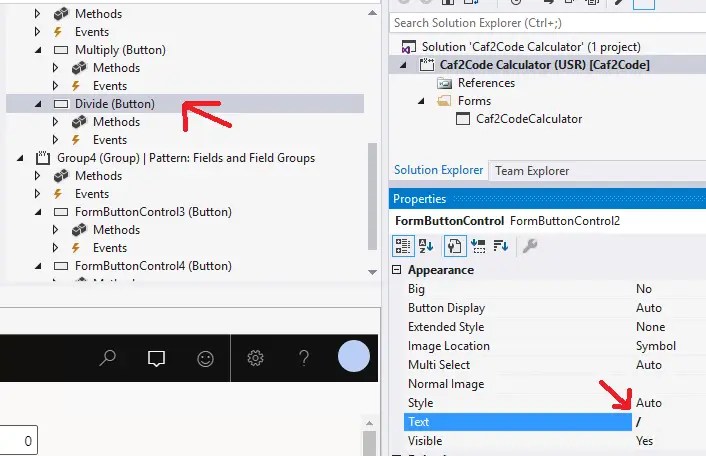
12B. Right click on the first button in Group 3 and select properties. In the Text field under Appearance, type in a forward slash (/). In the Name field under Data, type in “Divide”.

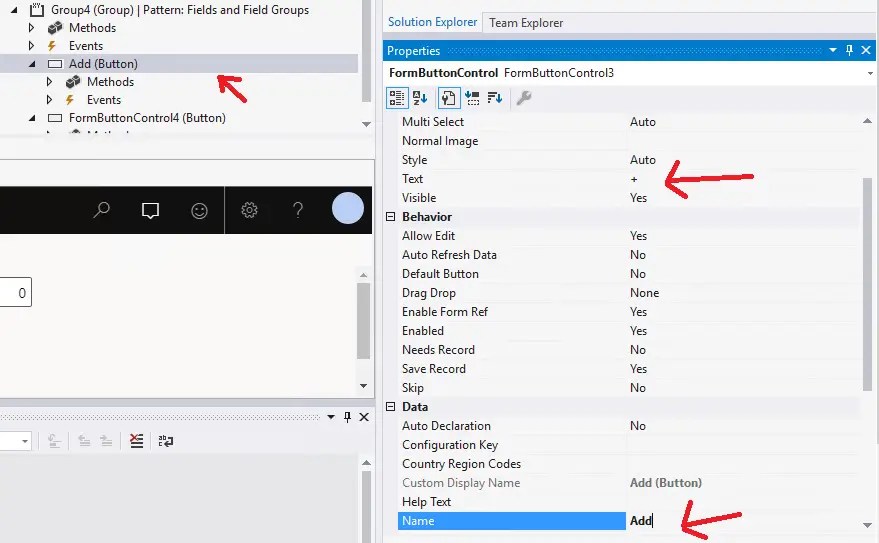
12C. Right click on the first button in Group 3 and select properties. In the Text field under Appearance, type in a plus sign (+). In the Name field under Data, type in “Add”.

12D. Right click on the first button in Group 3 and select properties. In the Text field under Appearance, type in a dash (-). In the Name field under Data, type in “Subtract”.

13. Right click on Design | Pattern, select New and click on Button Group.

14. Right click on button group, select New and click on Button. Repeat for a total of two buttons.

15. Right click on the first button, and click on properties. Change Name value found under Data to “OK” and Text value found under Appearance to “OK”.

16. Right click on the second button, and click on properties. Change Name value found under Data to “Cancel” and Text value found under Appearance to “Cancel”.

17. The Calculator UI is now complete. Your form should look similar to this (it’s ok if the fields are a bit off as long as they are on screen).

Stay tuned for part 4 where we will complete the code to add functionality to our calculator.

